In our last installment (click here) I made a series of scrappy potholders that started off with squares, graduated to triangles, and wound up with something like this:
(This one is new, made after finishing that blog post.) A reader had suggested using rick-rack for the hanging loop, so I tried that, too - what's not to love?
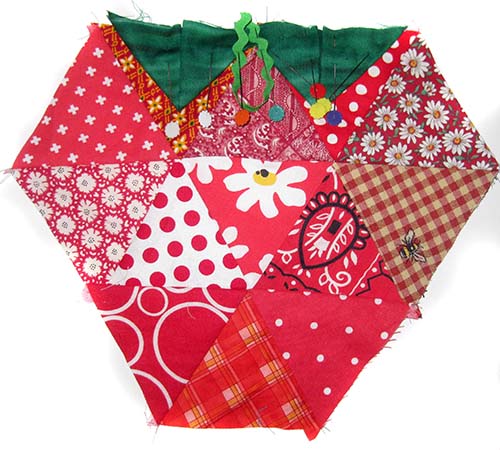
Next I put green prairie points on top of the quilt top (along with a rickrack loop), to form 3-D leaves. Here they are pinned in position, ready to be basted, then sewn into the quilt sandwich (illustrated in last week's tutorial.)
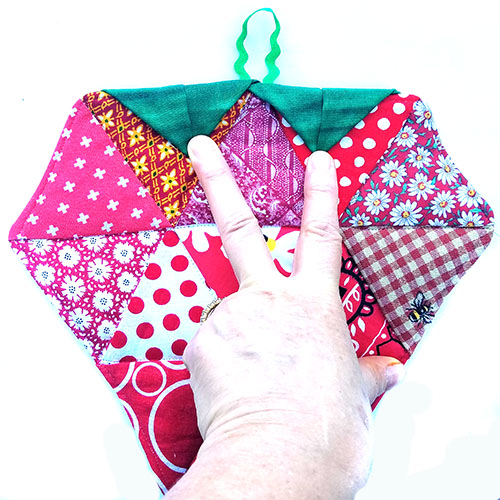
Once stitched and turned right side out, the leaves stood up straight.
They needed tacking.
I tacked them down with some back-and-forth stitching in the center of each leaf, holding the folds apart. This was awkward; in hindsight, I don't think I'd do this again unless I'm sure the giftee will never use it as a potholder - without batting, it feels like these prairie points won't wear well.
If you've never made prairie points, here's a mini tutorial. Cut a 4" square. Fold the top half down, wrong sides together.
Then fold the upper corners down to meet in the center. You've done it right if all the raw edges are along the bottom.
By now I was tired of strawberries, so I set a new goal: Apples. The round shape would clearly would require more triangles than strawberries. To avoid making it humongous, I brought the triangle size down - to 3 1/4" (uncut) from tip to base (instead of the 3 3/4" used in all the previous pieces.) I wound up using 24 triangles, two of them green. I was delighted with the results - an outer hexagon with an unexpected six-pointed star flashing around inside!
I liked it so much I made another one!
Eureka! I stumbled on the perfect gift/kitchen decor for Rosh Hashanah, the Jewish New Year, which involves dipping apples in honey! Start sewing now, it's coming up soon!
A word from our sponsor: My Etsy shop has many more of my patterns, including Judaica and non-denominational kitchen art.